
There are difficult changes to make when starting to reduce waste.
However not everything needs to be difficult.
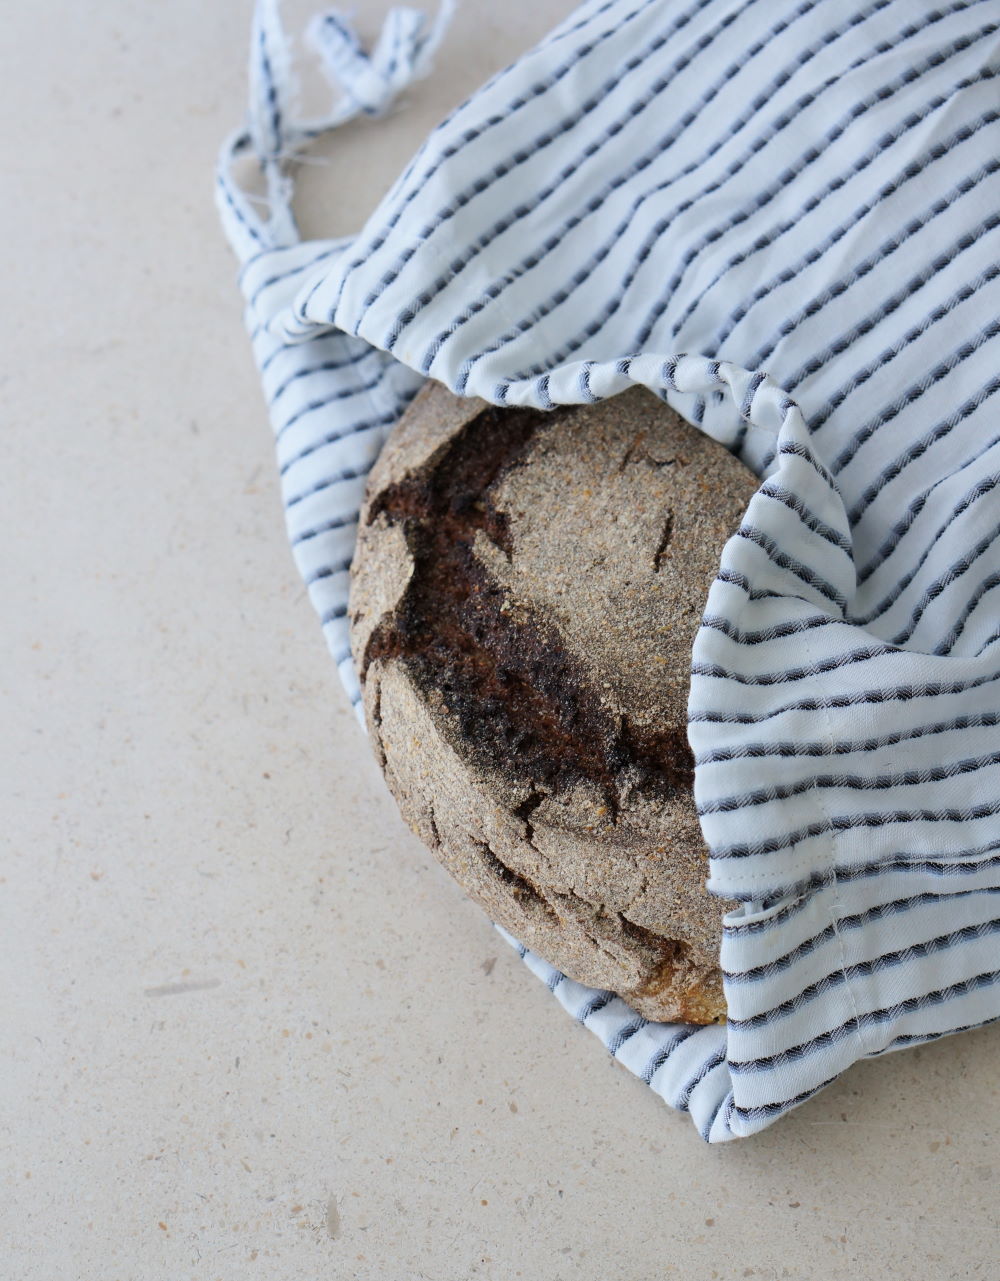
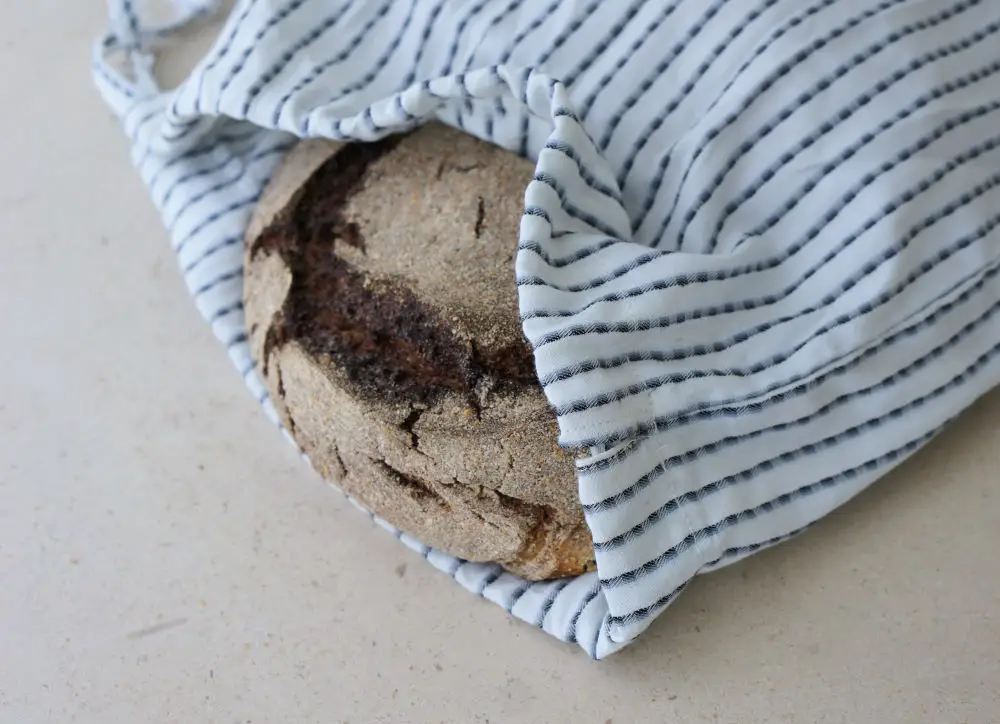
One of the easiest things to do to reduce your waste, is to use reusable produce bags (how to make your own reusable produce bags) and a reusable bread bag. They’re light to carry and besides remembering to bring them with you, they don’t disturb much your routine.
Why you should use a reusable bread bag
Storing Bread in plastic, is it a good idea?
If you store bread in plastic, you’ll have a mushy bread. Since plastic doesn’t let moisture escape it’s not a great option to store your bread. It’ll quickly get moldy and you’ll be wasting food.
By storing it in a fabric bag, you’ll let enough air coming in but not as much as leaving it out in the open which would make it dry faster.
Freezing bread without plastic
However, if you want to make your bread last even longer, freezing the best way to store bread and let it keep its goodness.
Freeze it when it’s still fresh and defrost in the microwave. It’s such a huge difference than letting it out in the open.
Yes, I do freeze bread in my reusable bread bags. You don’t need to freeze it in plastic. I do freeze in a paper bag occasionally and use it until it gets torn.
Simple switch to help our planet
As I’ve said above, bringing your own reusable bread bag instead of buying it in a single use plastic or paper bag, it’s a simple switch to reduce your waste.
Plus, you’ll get compliments the next time you go to your bakery by showing off your handmade bread bag.
Getting complimented all over the country and even in Chile by using my cute bread bag can sure be a motivator of using reusable bread bags. My bread bag is way more colorful than the one I’m showing today, mostly because the one I made for this tutorial is to be used by my boyfriend and he’s more into discrete colors.
Using recycled materials to make a reusable bread bag
I’m a big fan of using what we already have. My dad ruins all his shirts in the collar, so I like to use this fabric instead of letting it go to waste.
This way, this reusable bread bag is even more eco-friendly as it’s not using new materials.
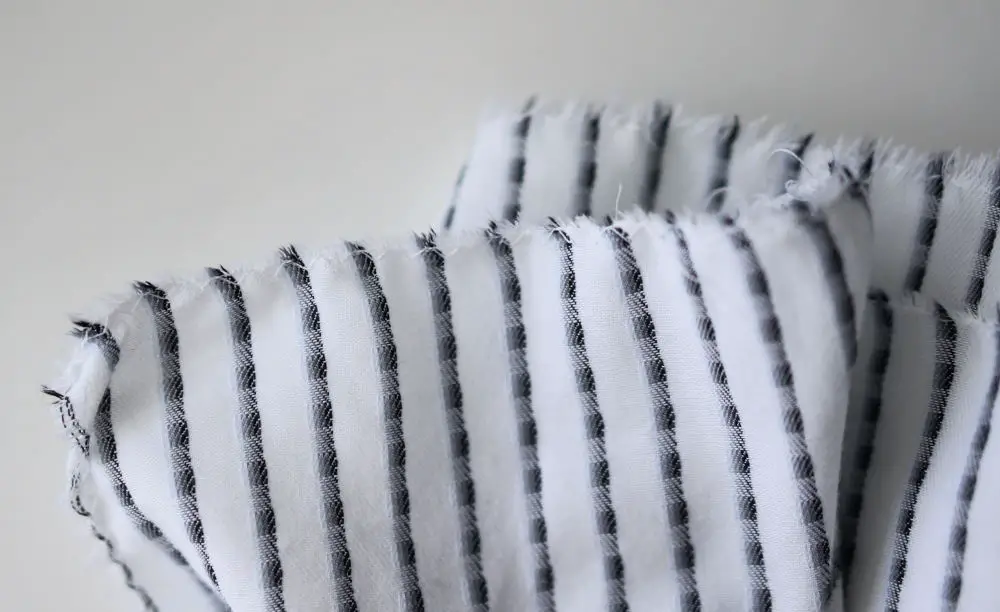
Since men shirts are made of cotton, they’re the perfect fabric to make these DIY reusable bread bags as they let the bread breathe.
Please consider using fabric or upcycle shirts that you were going to send to the trash instead of buying new fabric. Cotton or linens are both great fabrics for this reusable bag.
Give DIY Reusable bread bags as gifts
Can you imagine giving reusable bread bags instead of giving stuff that people won’t use for Christmas?
Give a reusable bread bag with a loaf of fresh homemade bread inside to your friends and family for a more unique gift.
I’d love to receive this gift, it’s thoughtful and you can personalize both the bag and the bread for each recipient.
How to make a reusable bread bag
Now that you know everything you need to know about reusable bread bags, I’m going to show you how you can make one yourself.
Materials
- Sewing Machine
- Thread
- 1 Men’s old shirt
Instructions
Cutting
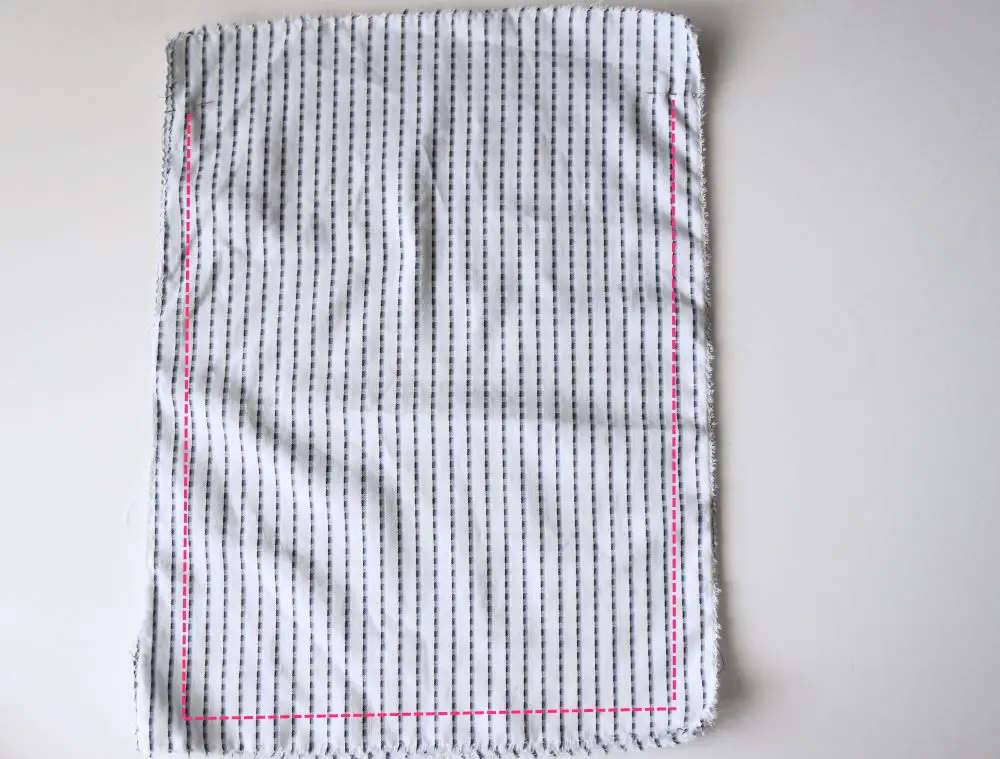
1. Cut a men’s shirt to have two rectangles of the same size. If you don’t have enough fabric you can also cut smaller squares and sew them together.
You might have noticed that I didn’t give you any specific measurements – this is on purpose as you might want a reusable bag smaller or bigger than the one I made. For reference purposes, my rectangles were 50×30 cm (20X12 inches) each.
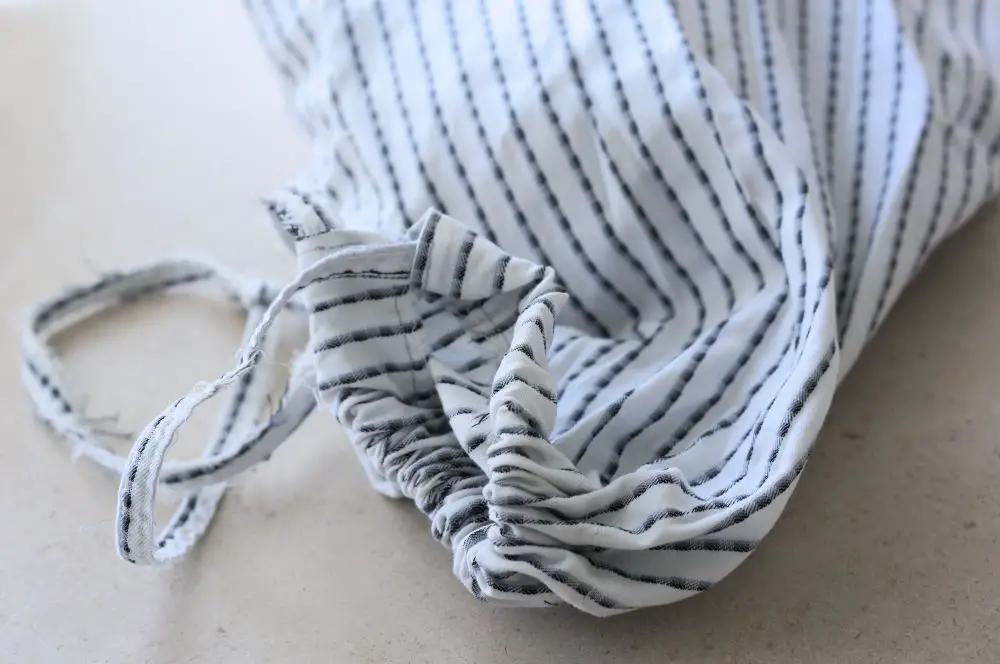
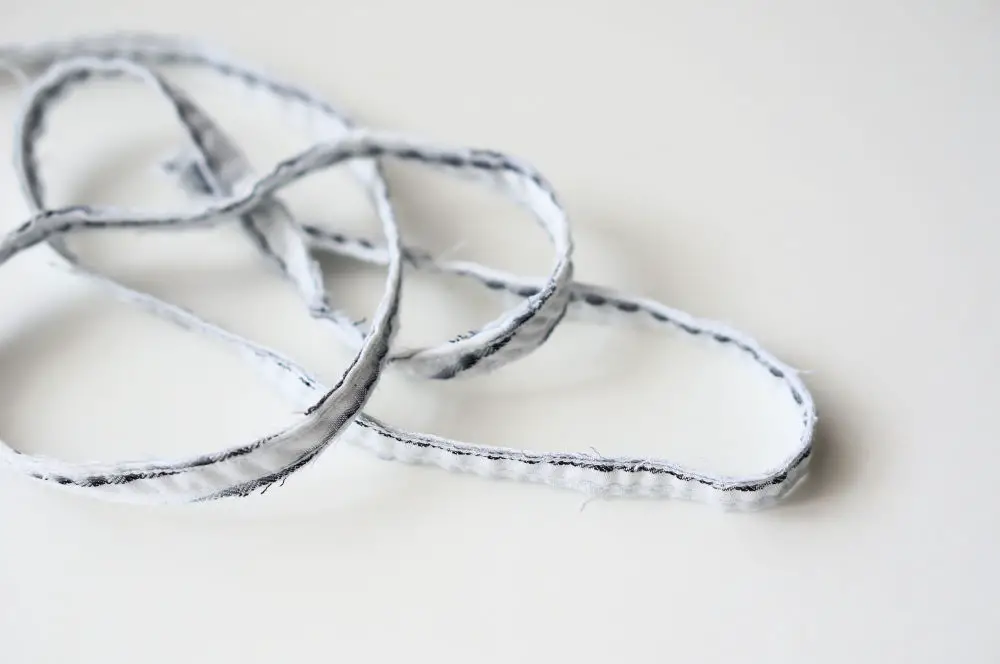
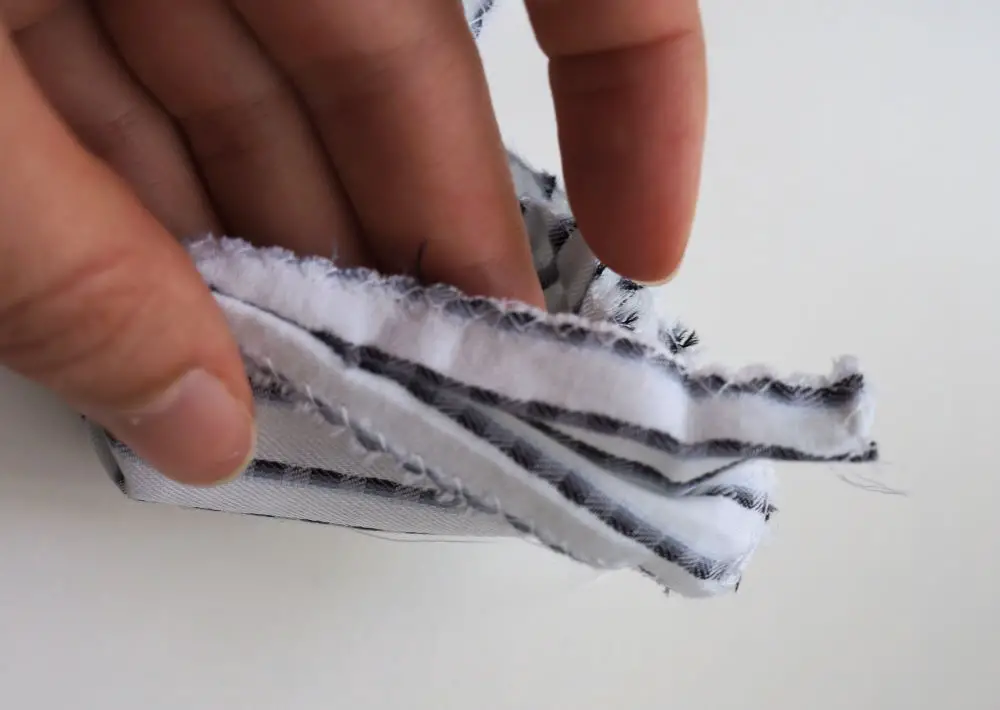
2. Cut the bias from the shirt, this will be the string for your bread bag. You can also use a ribbon but I chose to make this without any extras other than the men shirt.
You want to keep it thin just to make sure that you don’t add any unnecessary extra weight, especially if you purchase bread by weight. You should end up with something like this:
Once you’ve cut everything, you’re ready to sew.
Sewing
1. Zig zag around each piece. This will ensure that the fabric won’t unravel. This is boring to do but a very important step.
2. Put each rectangle front sides together. Sew up the bottom, left and right side of the bag with a 1/4-inch seam allowance. Stop 2-inches from the top on left and right side.
3. Press all the seams flat.
4. On each side, turn the seam of the 2 inches left to sew towards the center of each rectangle and press it.
5. Sew around this new seam to make sure it stays in place.
6. Turn the top down. You’ll want to match this side seam leaving a 1/4inch seam allowance. Press it.
7. Sew all around. You’ve now finished the casing.
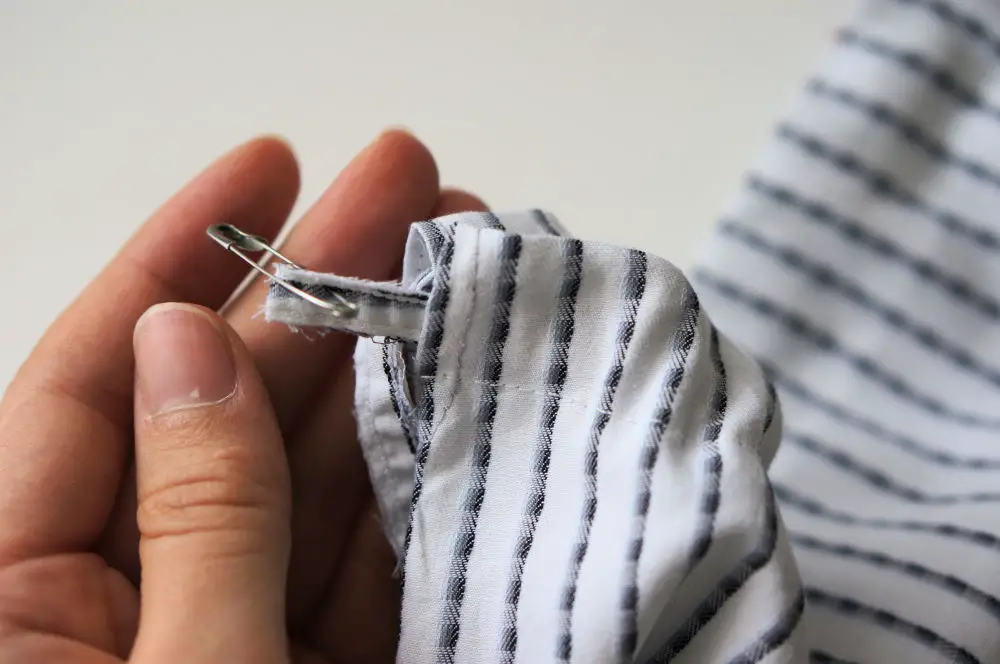
8. Grab a safety pin, use it to grab the bread bag string. Using the safety pin, thread the string through the casing, going through the other casing until it’s out and tie ends together.
And there you go, you’ve a reusable bread bag to bring whenever you’re buying bread. It wasn’t that difficult, was it?
Are you ready to make your own reusable bag?