
In 2017 I started to use reusable produce bags, it’s a good way to be more eco-friendly and it’s not difficult, how many plastic bags do you use in a week? If you buy a fair amount of vegetables and fruit like I do, it starts to add up, that’s why I decided to take this step.
There’s a fruit shop that I go to practically every week, one day I didn’t have enough produce bags to bag some fruit that I had, the owner while weighing the fruit said to me “I would offer you a plastic bag but I know that you don’t want one”. It’s super interesting how people start to notice these things. I went to another one, that I’m not a regular customer, and she commented on how cool my bags were!
I bought my first pack of reusable produce bags but decided to try to make my own. As I said in my previous post, I’m far from the expert sewer and was able to pull this off quite quickly so even if you don’t have a lot of experience sewing I bet you can do this. This is one of those projects that doesn’t need to be perfect so you don’t need to fuss too much on the details.
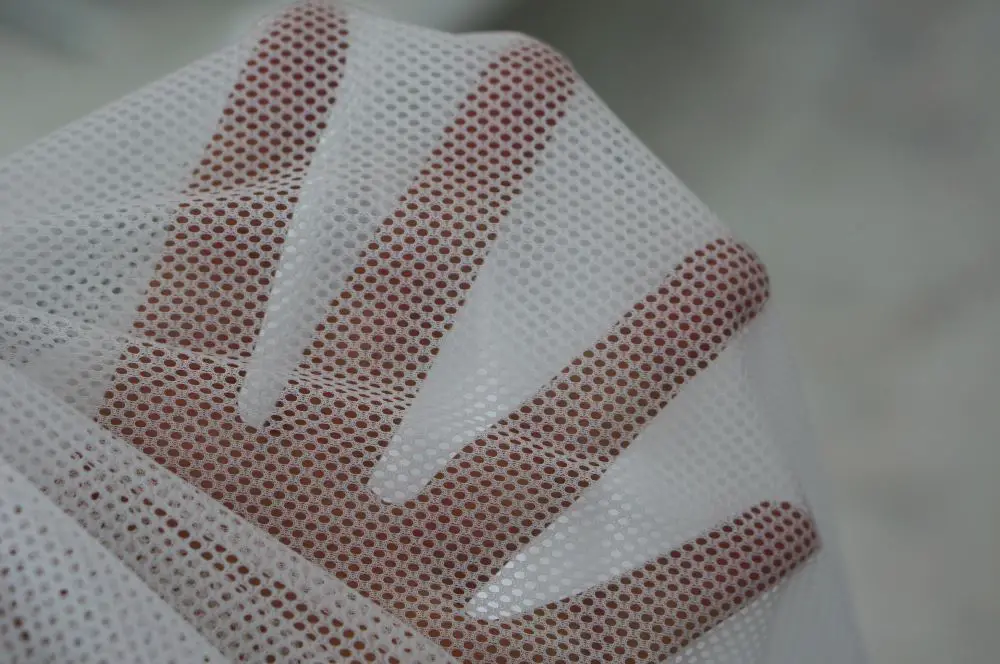
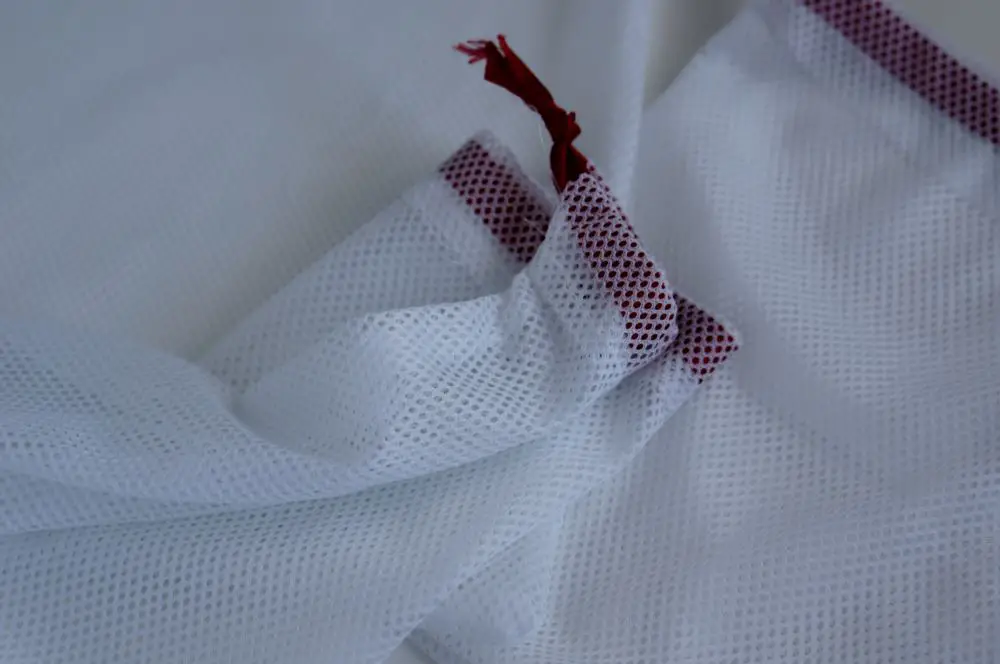
I used mesh lining (the kind used to make swim shorts) to make these reusable produce bags. It was cheap, 1€ as a scrap in “Feira dos Tecidos”, I don’t know how much they usually cost per meter. The ribbon I had lying around at my parent’s and decided to use it, the ribbon had 1cm of width. If you’re using another kind of ribbon, just change the casing height. Ribbon width + 1cm should be good.
Cut the rectangles, I made two sizes but you can make all sizes. To give you an idea, here are the measurements of the smaller and bigger bag: 44cm x 30cm, 40cm x 20cm.
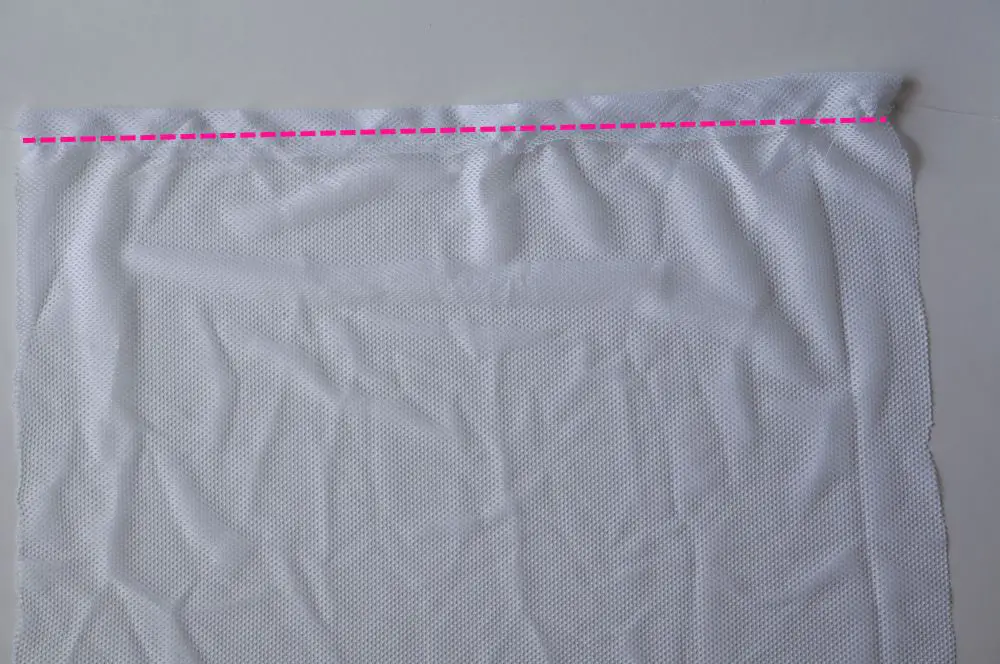
Fold the upper part of the fabric, where you want the casing to be, give it around 2cm and press. With a seam allowance of 0.5cm sew, back stitching at the beginning and at the end.
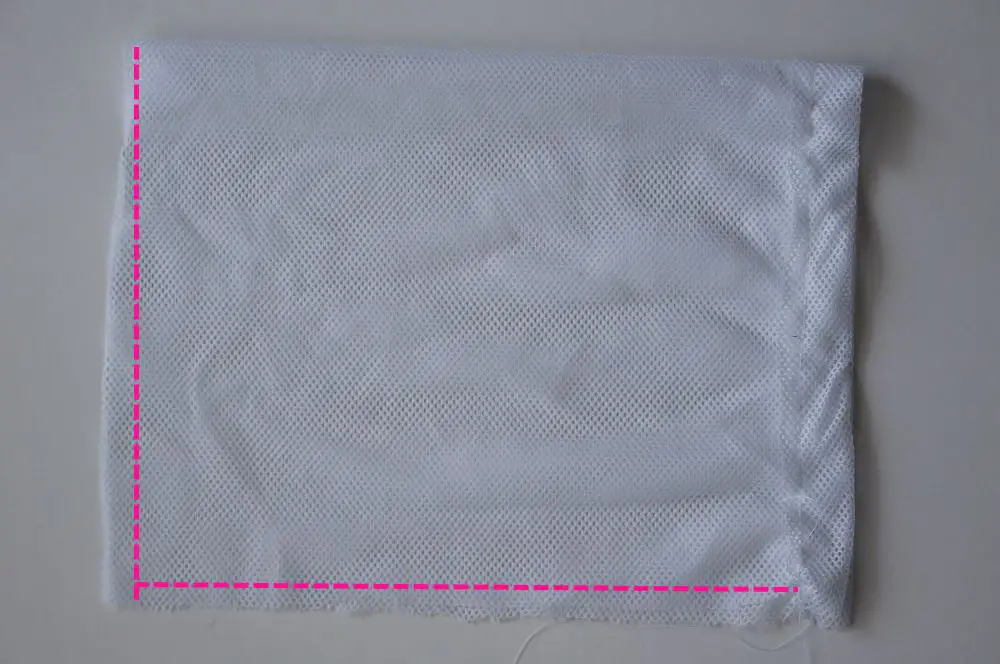
Fold in half, right sides together, pin the sides together so it’s easier to sew. Sew along the open sides using a seam allowance of 0.5cm, without sewing the casing.
After this you can press the seams so it looks prettier and stitch close the opening but to be honest I didn’t bother.
Turn inside out and attach a safety pin to one end of the ribbon. Insert the safety pin into one of the openings and slowly pass it through.
Tie together the two ends of the ribbon.
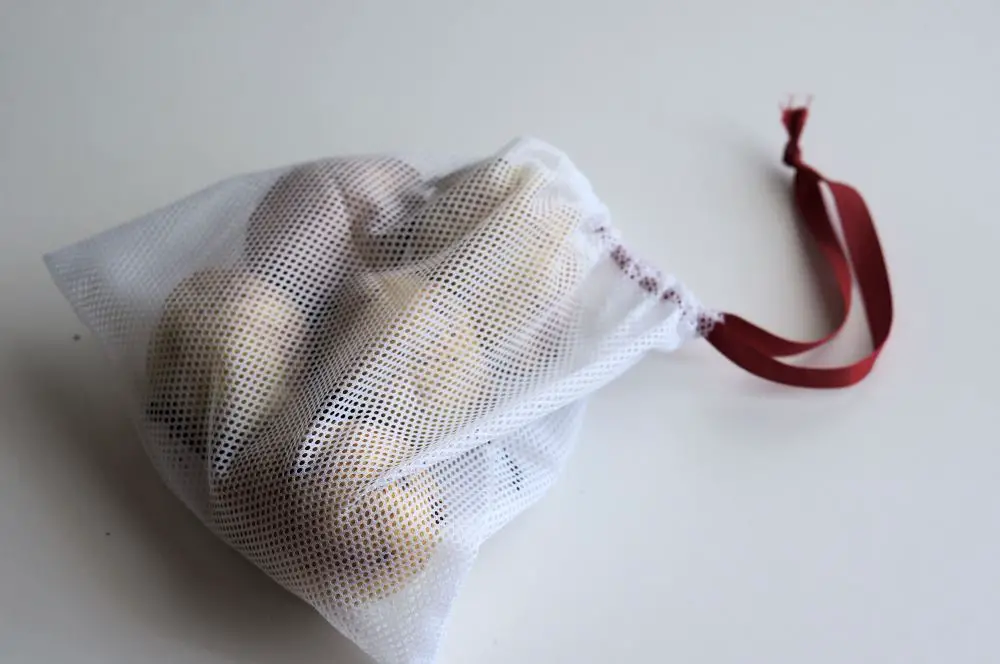
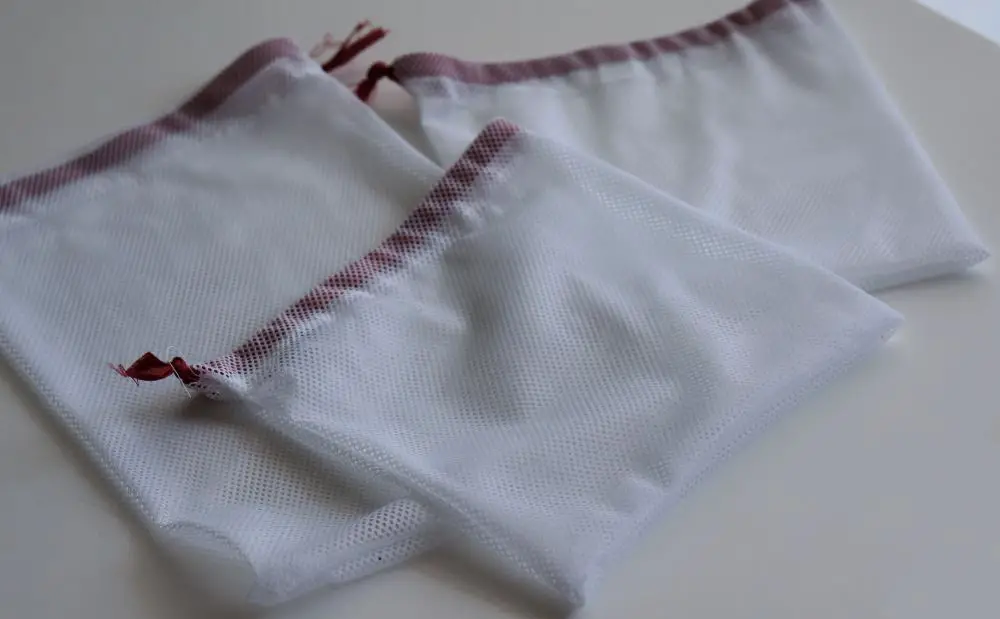
You’re ready to go! I always have some with me since they’re so light, have a couple in my backpack, another two in my purse, that way I’m always prepared!
Let me know if you make the bags based on my tutorial! I’d love to know how it went!
8 comments
This is gonna be the Xmas present for all my family and loved ones! Thanks a bunch, can’t wait to sew them all 🙂
What a wonderful gift idea! Hope your loved ones love them!
Awesome! Thank you!! I bought some from Norwex several years ago and love them so much that I’m going to make these as Xmas gifts for friends and family this year!
That’s so great! Let me know how it goes!
Oh yay, I’ve been looking for the right free pattern/tutorial for these and this one looks perfect!!!
I’m determined to make up a bunch of these for my daughters for Christmas! And maybe even for my nieces, and myself… ?
Thank you! Good luck on your sewing 🙂 Definitely make a few for yourself
A shoelace works great as a drawstring. Girl scouts make bags like this to wash their dishes while camping with a group. Wipe the remaining sauce and crumbs off the plate, cup and cutlery, P
put them in the bag, tie up the
Drawstring, and dunk in into your dishpan or pot full of soapy water. Swish it around, then do the same in a bucket (or whatever) of clean water, and hang to dry on a clothesline (or tree branch if you are actually camping). Scouts do a third dunk in water with bleach, up to you if you’re just with a few people.
Saves time, effort and water.
Your choice what to use to wipe the plates before dunking. If you are willing to use paper towels, they can be composted or burned in the campfire.
I’d never thought of that! That’s super interesting