
A couple of days ago I finished to renovate my ironing board. It used to look like this:

It belonged to my parents but they gave it to me when I went to live to my apartment as they had a newer ironing board. This was 4 years ago…It already had rust and rubber feet missing then. It annoyed me how it stratch out the floor. I decided that it was time for a makeover. I already told you how I was trying to fix things that annoyed me and this is just one of them. Obviously this one took way longer than 5 minutes!
I started by dismantling the ironing board:

(see the yellow bowl? To make sure I didn’t lose any of the tiny components)
Then the hard part: remove the rust as the paint cannot be applied unless the surface it’s rust-free. It was harder than I expected but fortunately with the help of my brother and mother we sanded the whole thing and eventually got it done.
After that, paint! I did about two coats and did some touch ups after that in places that needed it. I didn’t paint the screws, I used the old ones as a guide to find others similar around the house.
Now I’m going to tell you something really weird that I did to my ironing board that I believe will make it last longer. I cover it with a layer of white glue. Why? If you take a close look to the ironing board, you can see that it’s made of some kind of MDF and it was starting to fall apart, specially in the bottom. My mom gave me this suggestion and I thought it was a great way to give it a few more years!
Moving on, there are two important steps left to do: assembly and get material to cover the board.
I decided first to buy padding for the board to give it a little more structure and then bought this cover:
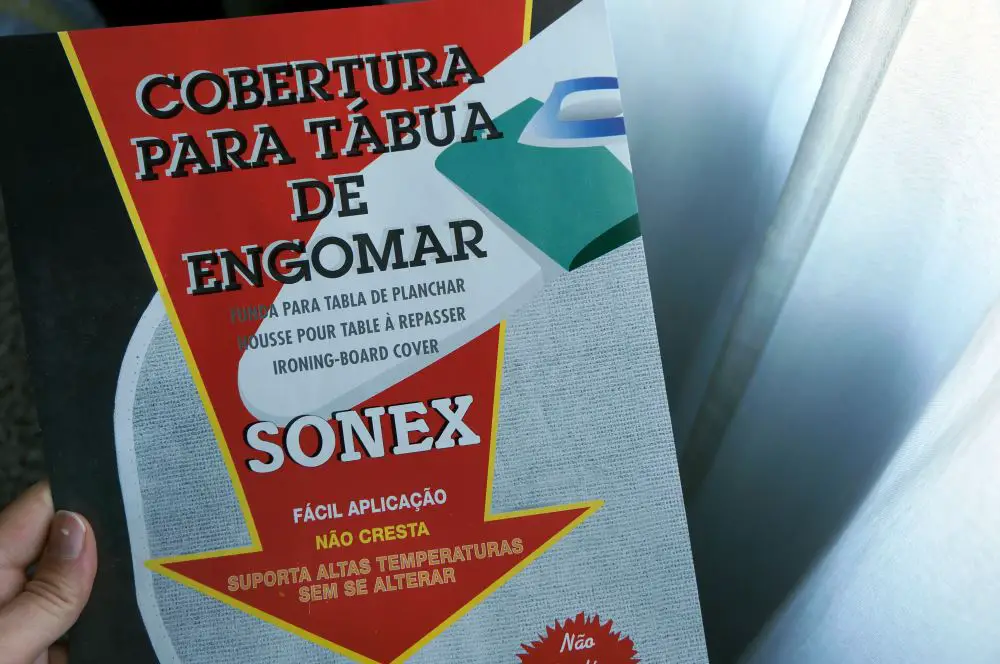
In theory this cover, in contrary to those of cotton, doesn’t burn so easily. It’s made in Portugal, nice bonus! I was a little bit hesitant to get a cover with a cute fabric instead but decided to be more practical.
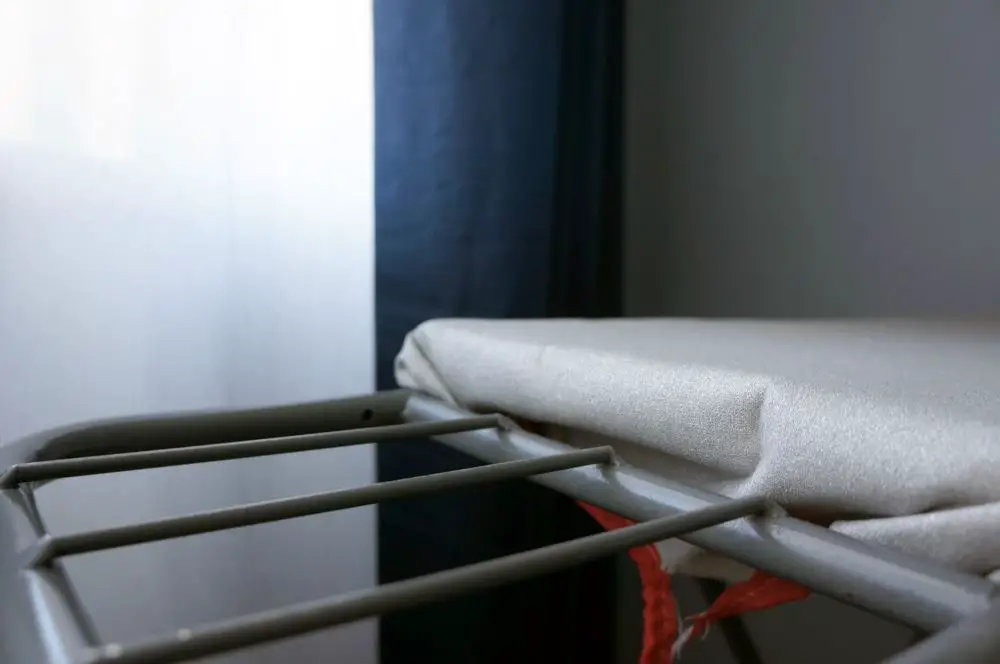
And here’s the result, it looks good doesn’t it?
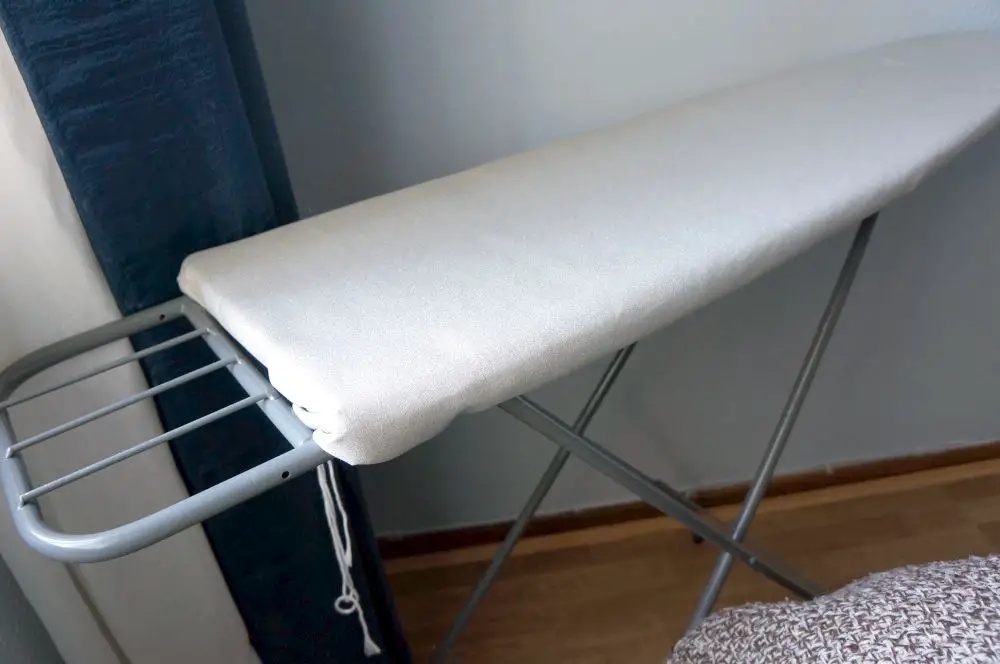
Everything painted, new screws and new rubber feet:

Now, the moment of truth, how much did this makeover cost me?
- White glue – 2,99 (didn’t spend the whole 500gr container)
- Screws – 0 (already had)
- Rubber feet – 1,49
- Anti-rust spray paint – 5,99
- Padding – 4,90
- Cover – 3,40
Total: 18,77€
I did some research and found ironing boards from 12€, so yes, could be cheaper to have bought one. However, I do like these kind of projects and I’ve a hard time accepting why buy new when you can fix instead. Nevertheless, writing this post made me thing about all the different packaging and whether or not I created more waste renovating…but I hope not! For now, I will just continue to believe that it’s better to renovate instead of buying new.
